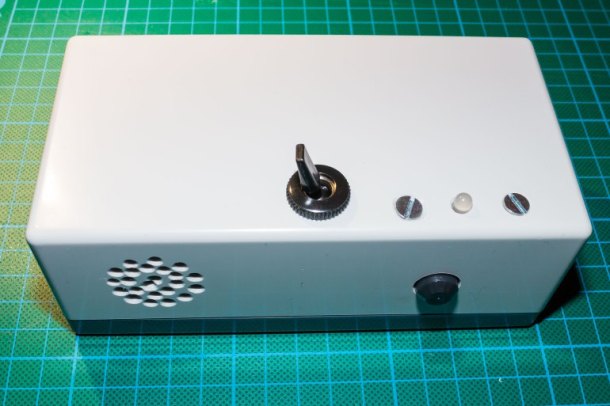
(Credit: Atmel) - If a cat hops onto something it’s not supposed to, this gadget will express your disapproval.
When the owners are away, the cats will play. If you’re the owner of a feline, then you’re well aware that it’s nearly impossible to keep your furry friend under control while you’re out and about. As a way to solve this common conundrum, a Maker by the name of “Lucky Resistor” has devised a small gadget — which he calls The Cat Protector — capable of detecting movements in projected areas, like tables and counters, and then expressing disapproval with your usual phrases in your own voice.
In order to bring this purr-fect creation to life, Lucky Resistor employed an Arduino Uno (ATmega328) to serve as the brains of the gizmo, along with an Adafruit data logging shield, a Panasonic motion sensor, a small speaker, a dual-color LED, various resistors and capacitors, a small SDcard, a low voltage power amplifier and a DAC chip.
“I started with a prototype, using an Arduino Uno and a large breadboard. The first step was to realize an acceptable sound output. To realize this I added a shield with SD card adapter and wrote some optimized code to stream sound from the SD card in 22.1kHz using a 12bit DAC,” the Maker explains.
“The amplification to a speaker completed this part of the project where I have two solutions. Next, I experimented with different motion sensors to detect the motion of the cat and finished the hardware part using a dual color LED for a simple status display.”
After successfully testing the prototype, Lucky Resister went on to develop his final product. Creating a compact device was a challenge, as the casing needed to be tidy and simple yet large enough to fit the battery pack, controller, speaker, LED and sensor. (The Maker spells out the entire process here.)
He began with the LED and sensor, and placed them on small stripboards with the resistors. From there, he added a flat cable ending in crimp connectors. After drilling the required holes in the casing, he fixed the boards with the LED and sensor inside. With the circuit board fastened to the bottom of the enclosure, Lucky Resistor soldered the circuits to the shield and connected the shield and rechargeable battery.
“The device was now ready to put into use. I can place it on protected areas like tables or shelves and enable it while I am out of the house. I just have to make sure the sensor area is covering just the protected area and not e.g. the floor. Sometimes it is necessary to put a cup or something in front of the device to reduce the sensor coverage,” he concludes.
Have a cat you’d like to keep under control as you run your errands? Head over to its step-by-step breakdown to get started.
- Atmel Staff -


